Dust Spots or Vignetting? Checking Aerial Photos Before Mosaicking
Separate recurring image-coordinate defects from real ground patterns, then document inspection, approved cleaning, and the effect on usable aerial photographs.
Look for repetition in image coordinates
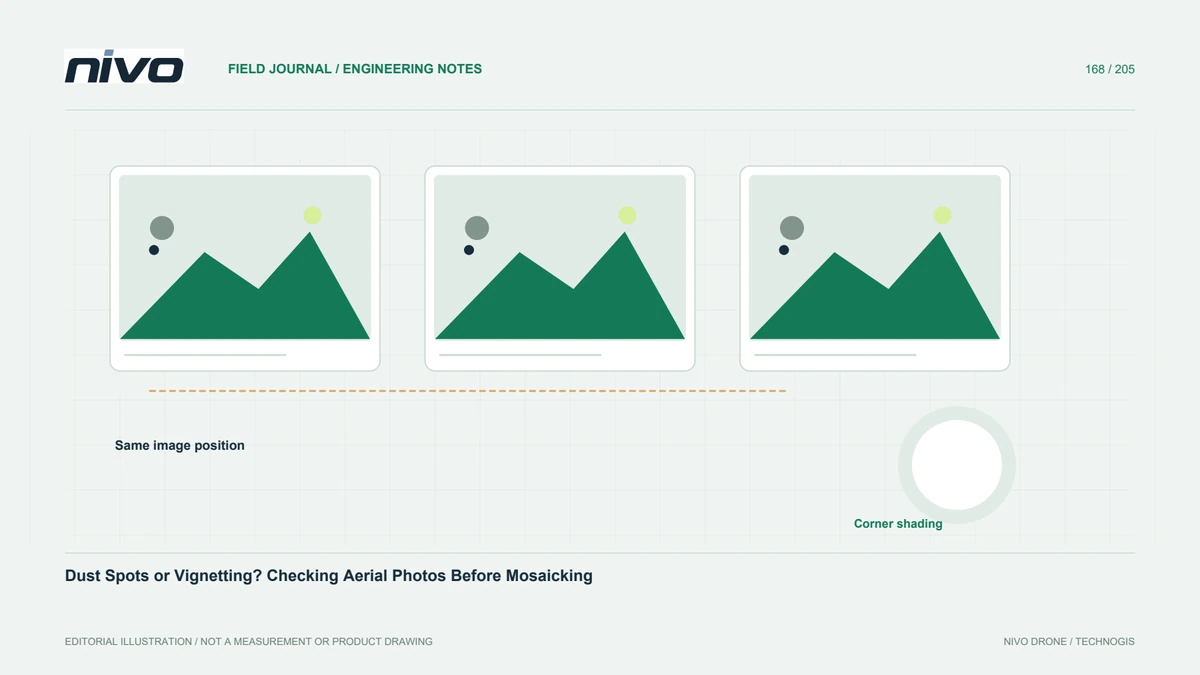
A dark region in an orthomosaic may originate in the camera rather than the ground. Review several original photographs of different surfaces. A spot recurring in the same image position deserves investigation, while a real object usually moves within overlapping frames. This comparison is more informative than editing the final mosaic immediately. Keep examples showing both the suspected defect and the landscape context so the processor can evaluate its actual effect.
Distinguish different appearances
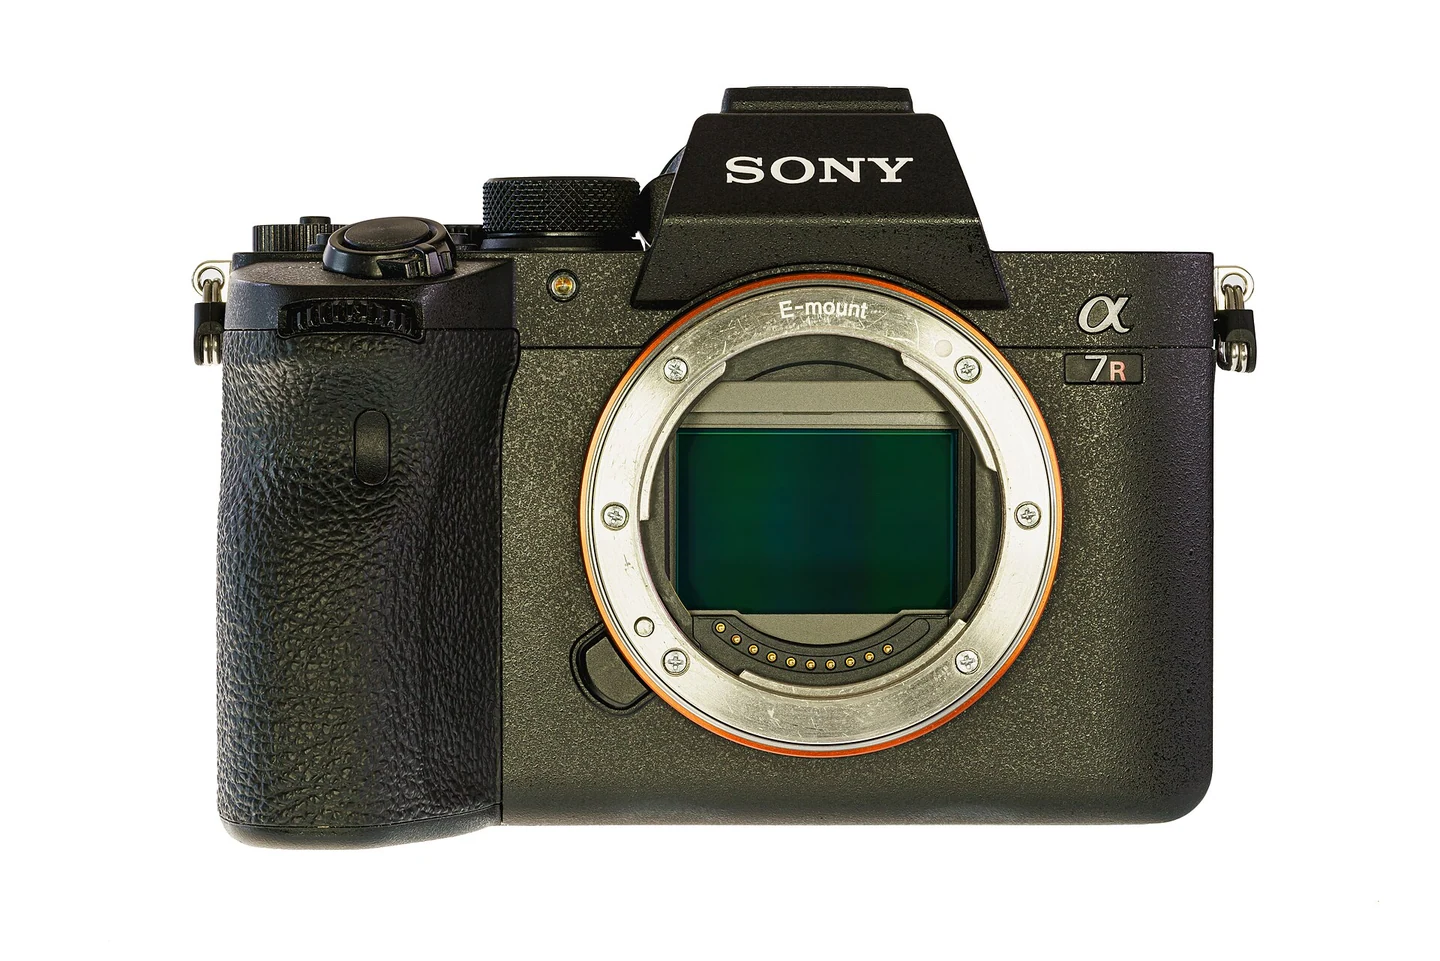
Dust-related spots, smooth corner darkening, obstruction, and a cast ground shadow do not necessarily share a cause. Compare shapes and positions across the sample set without diagnosing from one thumbnail. Sony explains that contamination can appear as dark spots or blur and that guidance is product-specific. Record the lens and aperture circumstances of the sample. Avoid treating a software brightness adjustment as proof that an optical or contamination problem has been solved.
Inspect through the appropriate procedure
Consult the actual camera and lens guidance before cleaning or opening equipment. Sensitive surfaces require approved handling, and an unfamiliar intervention may create additional damage. Assign inspection to someone competent for that equipment and use service support when necessary. This article does not prescribe one cleaning method for every payload. Preserve the pre-intervention samples and record what was done, so the subsequent check has a documented baseline rather than a vague impression.
Verify after intervention
Capture comparable test images after approved cleaning or configuration correction. Check whether the recurring feature remains and whether a new defect has appeared. Compare originals at a consistent scale, not only differently enhanced previews. If the issue persists, keep the unit's status clear and seek technical assessment. A clean-looking lens exterior does not prove the entire imaging chain is sound. Acceptance depends on the recorded image behavior relevant to the planned task.
Assess existing survey coverage
Determine which exposures are affected and whether overlapping photographs provide sufficient usable information. The answer depends on the defect, image network, and project requirement. Do not automatically discard a whole mission or assume mosaicking will conceal every problem. Test a representative area, record any exclusions, and review the resulting product. If evidence is inadequate, identify the actual recapture need while field access remains practical rather than discovering it after final delivery.
Prevent undocumented visual repairs
Retouching source images can remove or invent evidence, especially in inspection work. Keep unmodified originals and distinguish display illustrations from analytical inputs. Where a documented correction is appropriate, preserve its method and scope. Add a small recurring-pattern check to field quality review and discuss unresolved optical concerns during NiVO payload support. The aim is a reliable image source and an honest quality trail, not simply a seamless-looking map that hides why some areas were uncertain.