Exposure, Shutter Speed, and Motion Blur in Drone Photographs
Understand how exposure time, aperture, ISO, aircraft motion, and changing light interact when preserving image detail for aerial mapping and subsequent quality checks.
Separate brightness from useful information
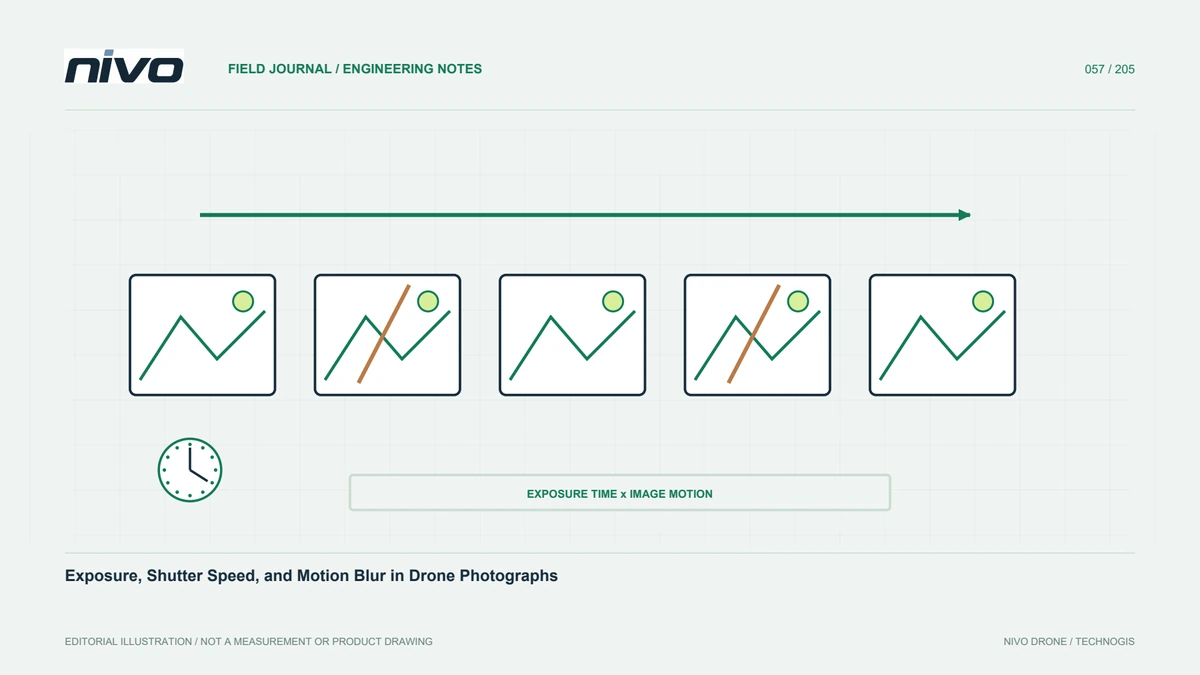
A bright photograph does not necessarily contain mapping detail. Movement during exposure can spread an object's edges across several positions, producing motion blur that a small preview conceals. Inspect original pixels on markings, buildings, and textured surfaces. Look for directional blur versus softness in every direction to help distinguish motion from focus errors. Exposure settings should preserve matchable, interpretable information throughout the block rather than merely create individually attractive photographs with pleasing brightness on the camera screen.
Relate exposure duration to relative movement
Aircraft and subject can move relative to each other while light is recorded. Shorter exposure limits that movement, but the choice depends on speed, height, lens, and required detail. Translational displacement can be approximated from speed multiplied by exposure duration and compared with ground scale. This is only a planning approximation because rotation and vibration also matter. Verify with actual photographs and recheck after meaningful changes in speed, route direction, or mounting. A calculation alone does not guarantee sharpness.
Choose aperture with the optics in mind
Aperture influences incoming light, focus tolerance, and optical behavior. Opening it can help sustain short exposure under limited light, but edge quality and focus tolerance still need review. Closing it excessively does not automatically improve detail. Compare several apertures over representative distances and textures, examining the whole frame. Record the accepted setting and its rationale. The aim is a consistent dataset; an operator should not change aperture solely because one isolated image appears brighter without considering the surrounding sequence.
Treat ISO as a measured compromise
ISO is one part of exposure design and should be assessed alongside noise and tonal detail. No universal limit suits every camera and project. Detail acceptable for general documentation may be inadequate on subtle textures used in matching. Capture examples at several levels and process a subset through the intended outputs. Compare matching, texture, and shadows. Base the operating boundary on useful information, not file size or the camera display, neither of which demonstrates what the downstream analysis retains.
Distinguish vibration, focus, and translation
Different blur patterns require different remedies. Mount vibration can produce ghosted edges or changing sharpness, incorrect focus can affect particular depth relationships, and translation can extend edges along a dominant direction. Review sequences together with flight direction and conditions. Change variables progressively. Adjusting focus, exposure, ISO, and mounting simultaneously may improve a trial without explaining why. Log each step. Where a mechanical issue is indicated, follow the appropriate technical inspection before attempting to hide its effects with camera settings.
Manage changing light within the block
Moving clouds can alter illumination rapidly. Decide how exposure will preserve detail without excessive variation between images. Manual settings and controlled automatic strategies both need testing for the camera, light changes, and intended analysis. Check clipped highlights and noisy shadows. If conditions change substantially, consider pausing or repeating the block under the operator's authority. Record lighting events so that processors can distinguish surface changes from acquisition effects. Cosmetic mosaicking cannot restore information that the original exposure failed to record.
Use a simple trial-image sequence
Select a small area containing contrasting lines, fine texture, and targets in different frame positions. Record a short sequence with the intended setup. Inspect central and edge detail, highlights, shadows, and focus consistency. When changing settings, keep the trial route and conditions comparable. Save accepted examples as the day's standard. This does not replace flight-safety or geometry checks, but it can prevent a large unusable collection. A few minutes of image review are usually easier to accommodate than repeating an entire survey.
Define recapture criteria before departure
Agree what makes an image unacceptable: lost target detail, extended runs of blur, or inconsistent sharpness in critical measurement areas. Use examples shared with processors and recipients so decisions do not rest on one person's preference. Examine where failed images occur, because a small number can create a significant local coverage gap. Preserve originals until copying and review are complete. Targeted recapture needs both location and cause; otherwise the team may repeat acquisition without correcting the condition responsible for the failure.
Retain settings for continuous improvement
Store camera, lens, focus, aperture, ISO, exposure time, shutter mode, and mounting details with the flight identity. Connect them to quality assessments and light conditions. Over several projects this builds tested operating ranges, which should be revisited when equipment or methods change. Avoid presenting one configuration as permanently optimal. Documentation is valuable because it explains the relationship between circumstances and results. It helps operators make defensible choices and protects acquisition quality before the dataset enters slower, more expensive processing stages.
Illustrative case: diagnosing a blurred image sequence
Consider a hypothetical mapping flight whose first review reveals soft road markings in several consecutive images. The operator initially suggests increasing sharpening during processing. Instead, the reviewer compares original pixels from affected and unaffected sequences, looking at blur direction, frame position, capture time, and logged lighting changes. The team discovers that several camera variables were changed together during preparation, so the available notes cannot establish which setting caused the difference. It preserves the original files rather than deleting the disappointing images before their coverage implications are understood.
A short controlled repeat uses a representative area and changes one exposure variable at a time within the approved operating plan. The team inspects both central and edge detail and distinguishes focus symptoms from directional movement. It does not turn a simple movement calculation into a guaranteed shutter recommendation for every aircraft. Accepted examples, rejected examples, settings, and conditions are retained with the flight identity. Before repeating the larger block, the processor identifies where missing or unusable photographs create actual gaps. The resulting recapture request names locations and reasons instead of asking the pilot to repeat everything. This hypothetical workflow connects image-quality diagnosis with a practical field decision and creates evidence that another operator can use later.
The comparison explicitly separates keeping an image because it looks acceptable in a thumbnail from keeping it because it supplies required detail at its ground location. A coverage map marks rejected sequences and the usable neighboring observations. Handover is approved when the processor can explain why a targeted repeat restores the intended information and the operator has a configuration to test before that repeat. This avoids either discarding an entire flight unnecessarily or retaining a gap simply because the total photograph count still appears large enough to a nontechnical reviewer.